For visuals I’m using my first cards done at a letterpress workshop in Paris with Thomas Gravemaker. I had in mind vertical and horizontal text and an oversized P. A line gauge (a specific printer’s ruler) helped measure how much distance I actually needed to create “designerly space”. In this example, the distance would be between the vertical and horizontal metal type relative to my sketch.

A line gauge is also handy to have when building a perfect square with furniture (furniture and other technical terms described in previous posts) around the lines of type. I held my perfect square firm with a another piece of furniture while I prepared other things. You can see a piece of furniture not exactly lined up with the rest of my block below.

The block will get wound up by printer’s string to hold it tight before its final transfer from galley to chase. The chase will be waiting for you lying on a very flat surface. Tying up the block of metal type and furniture doesn’t entail a knot, but simply pushing in and out the end of the string snug and tight is sufficient. It might take some practice as the string shouldn’t be loose!


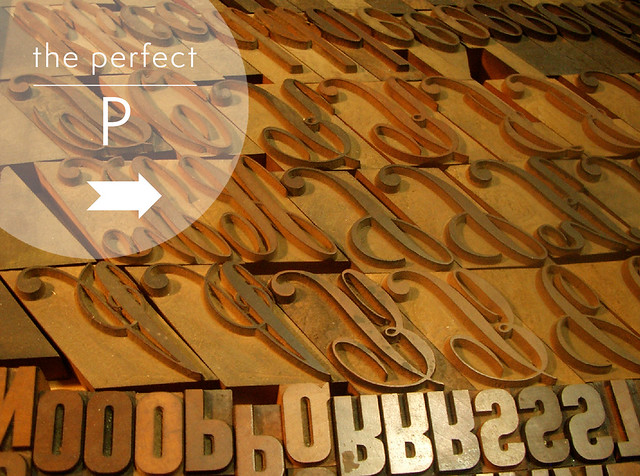
The wooden italicized P got printed first. This was pretty easy to lock up into the chase, as I only had to add two extra wooden pieces on the sides of the P to make it flush and square.
 Now to add enough furniture equal with the length of the wooden or metal type to secure it against the chase. Again your line gauge comes in very handy to measure the exact lengths of furniture needed. This time a perfect square wasn’t necessary but a “cross" gave it enough support along with quoins centered horizontal and vertical for good distribution before getting keyed up (tightening the quoins with key).

NEXT! Ready for Print
p.s.
Letterpress Commons is a good source for further reference and a complete list of tools for letterpress printing with metal type.